Portgarth model tug build
The Build - Hull 1
| << previous | The Build | next >> |
Portgarth model tug kit was purchased from Mobile Marine Models
It was delivered on 9th September 2026
Begin basic hull preparation and measuring up before cutting holes for running gear
|
|
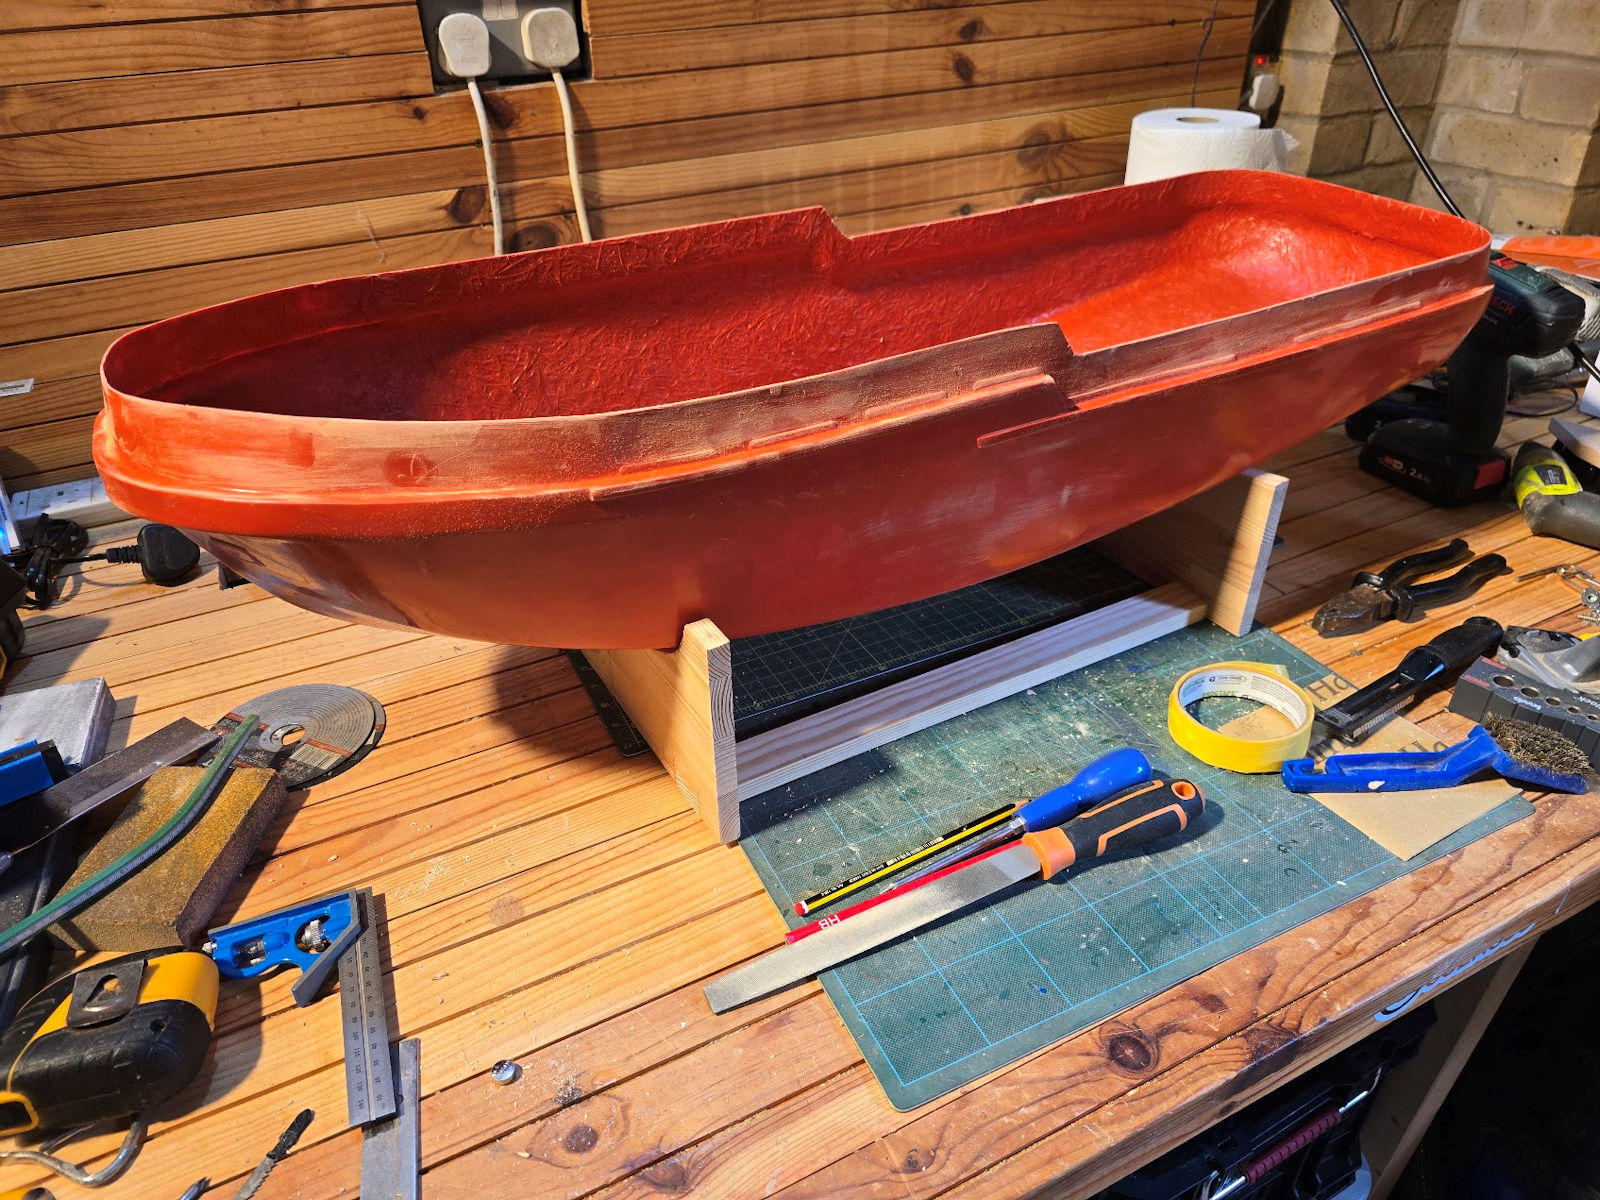
The new hull isn't too bad, with just the usual few blemishes and mould lines that need sanding and filling. Boat stand partially completed, just needs a bit more shaping and another couple of braces. |
|
|
|
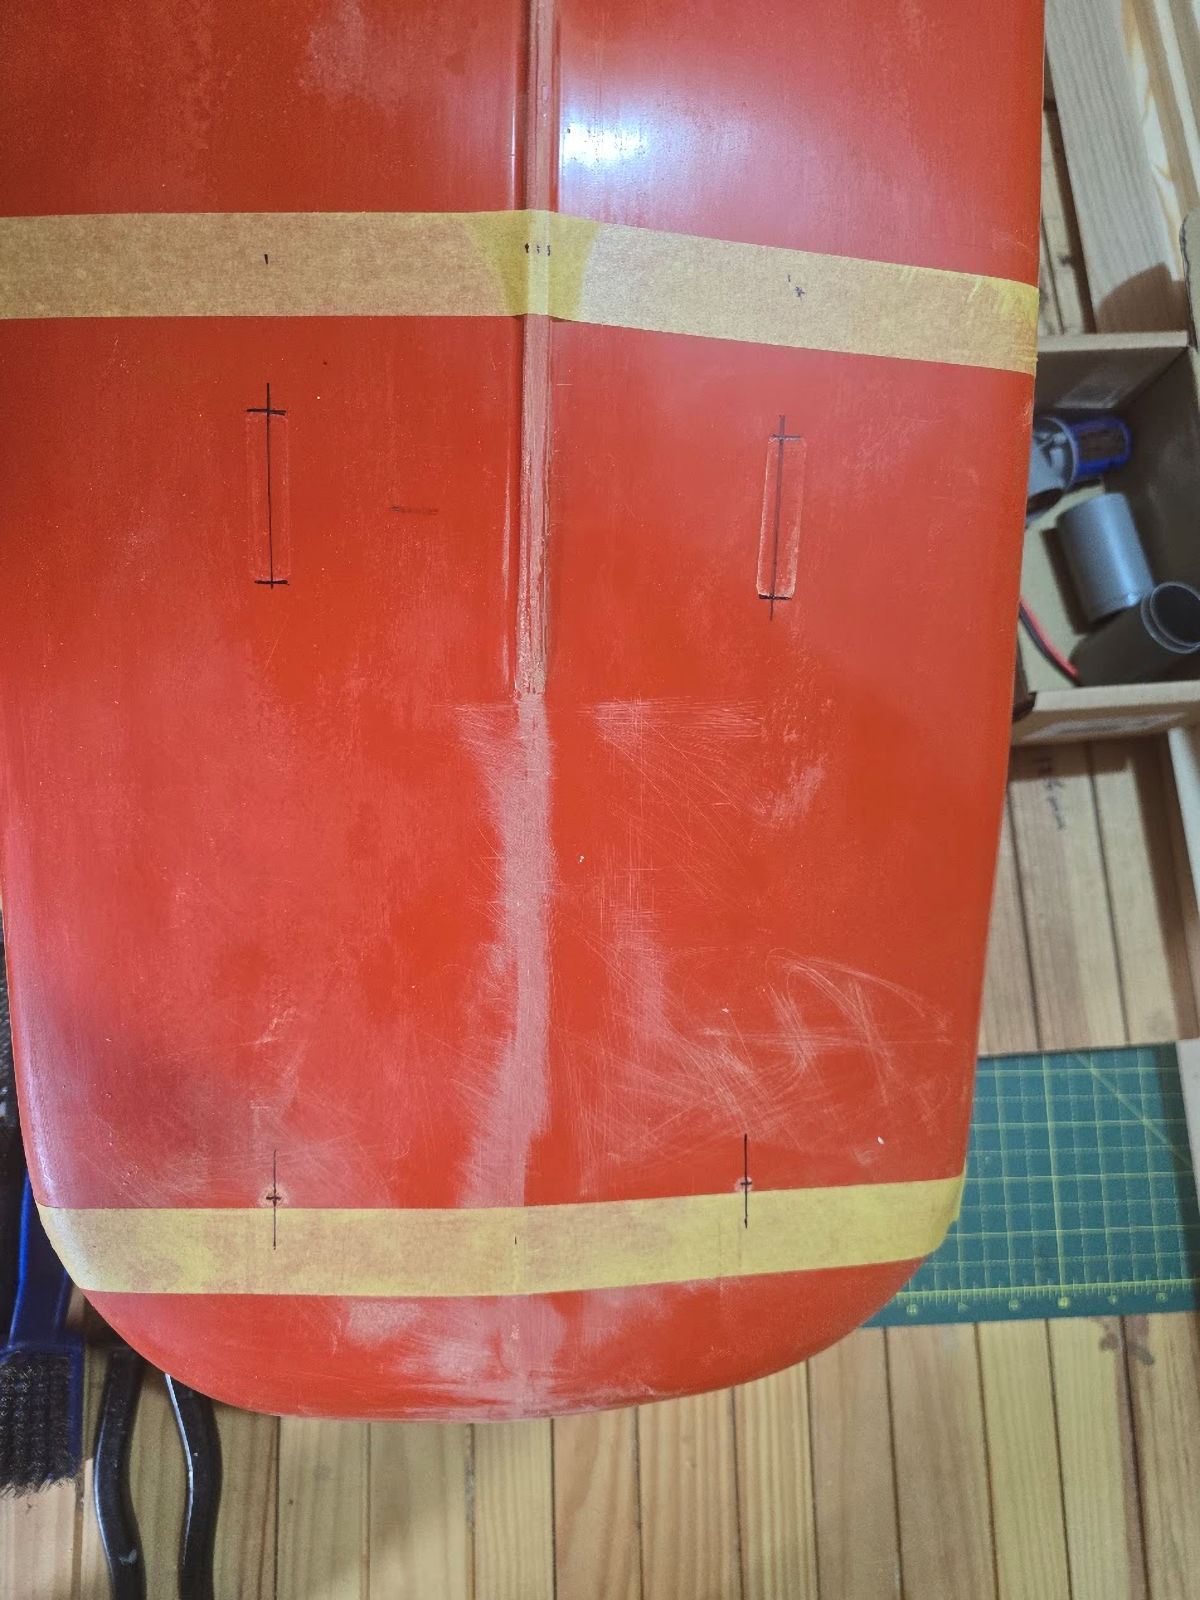
| As advised on the modelboatmayhem forum - its not safe to rely on the MMM castings marks for Korts, P-frame or Prop shafts, best only for an approximation. But in this case the casting marks were actually pretty good. |
|
|
|
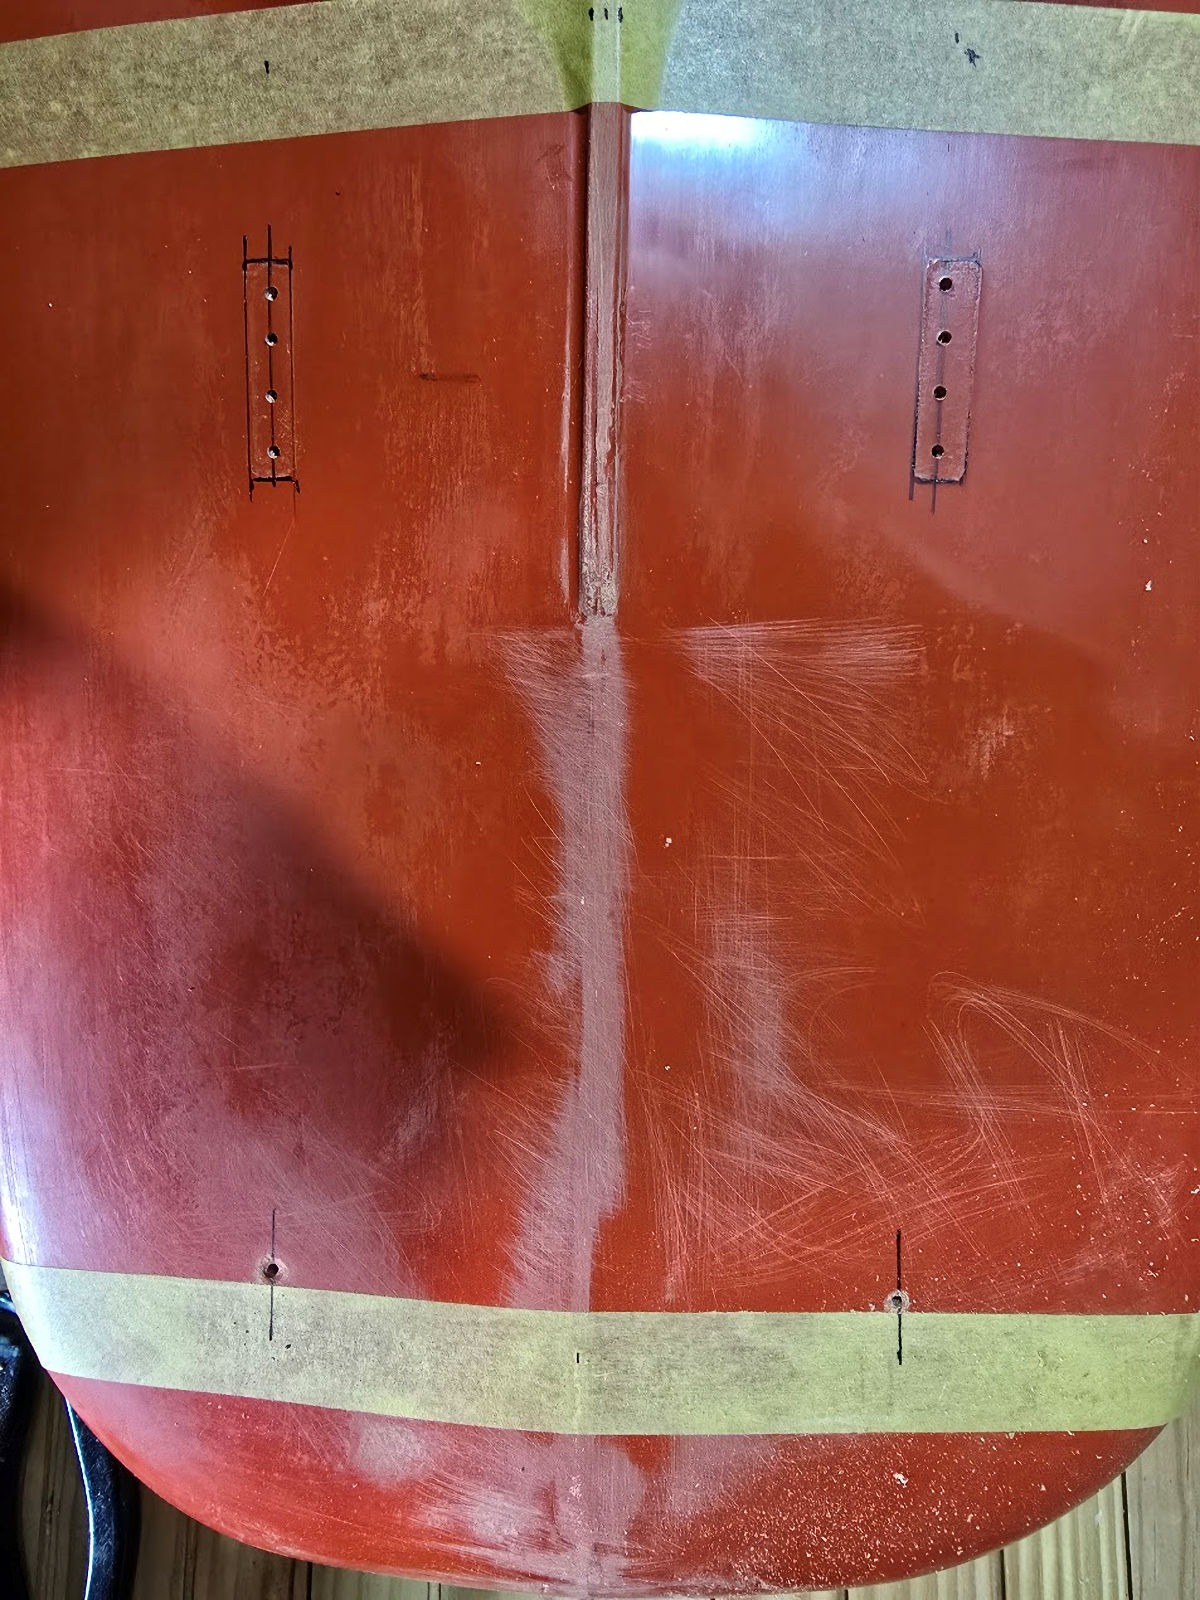
| Pilot holes drilled for prop shaft and kort pivot |
|
|
|
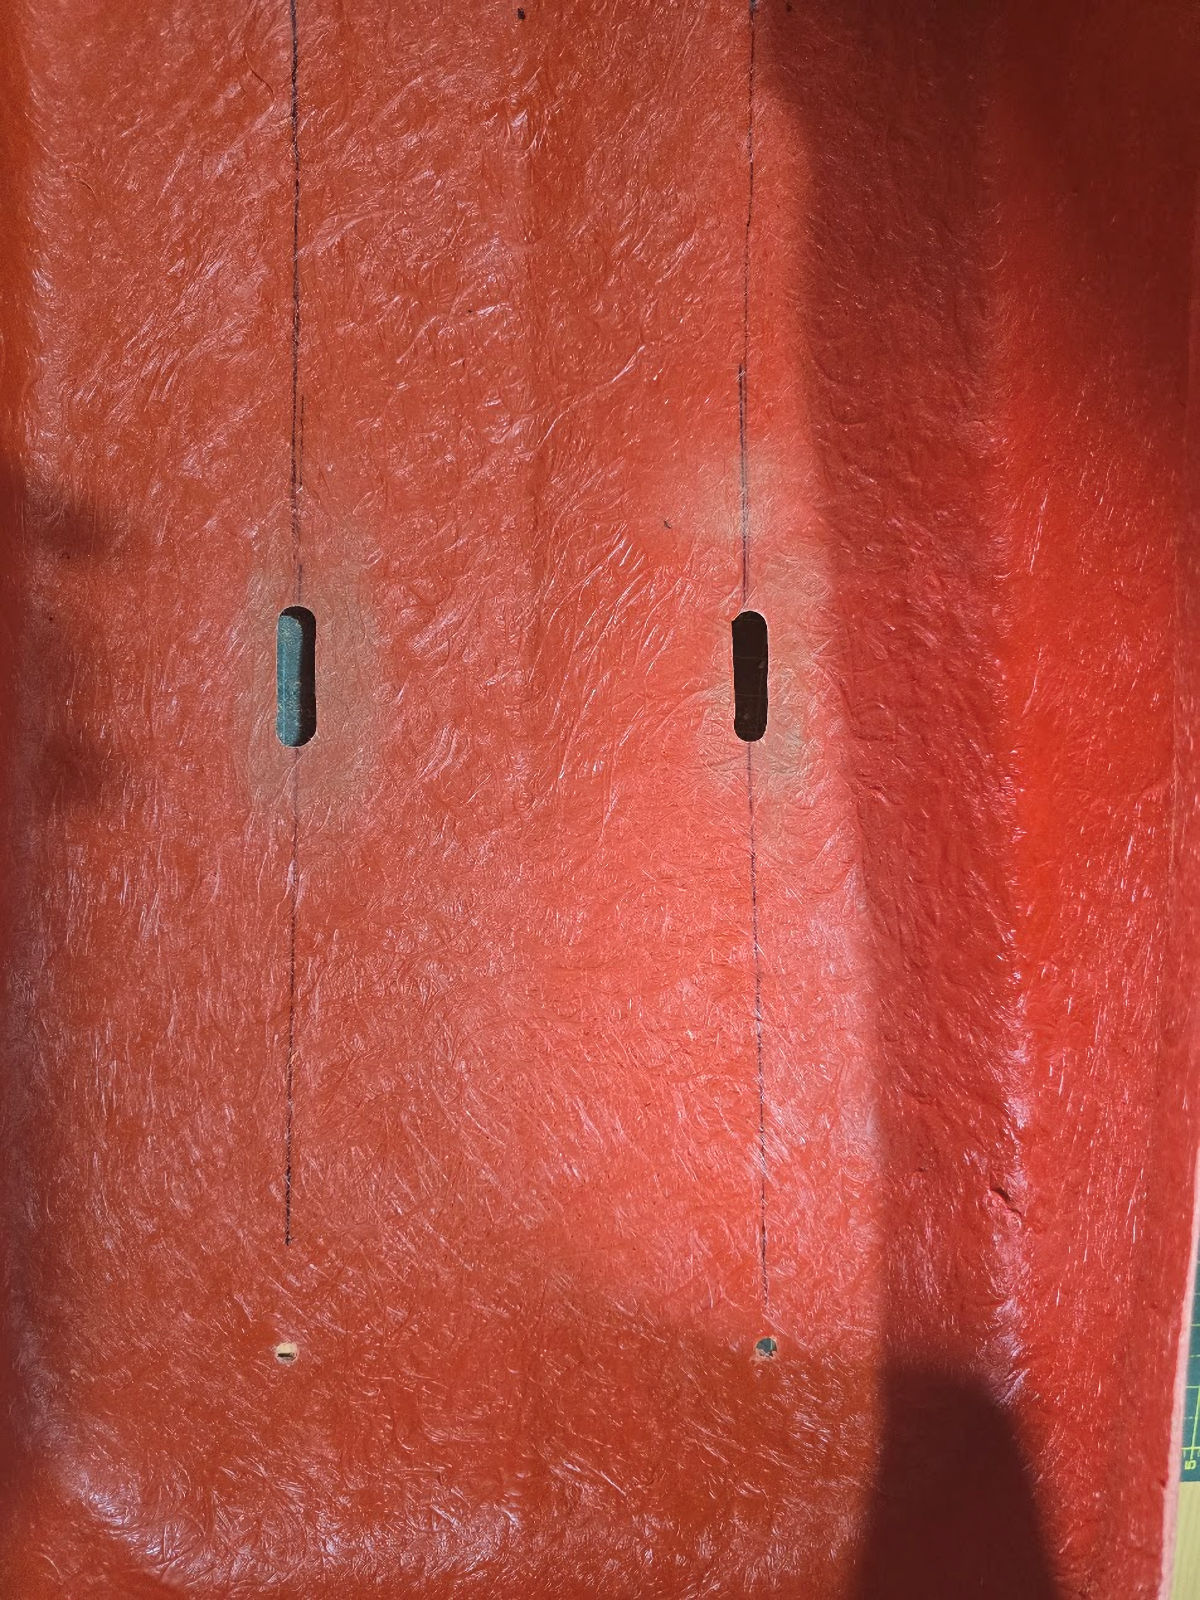
| The pilot holes were opened up with a step drill and then faired to size with my trusty dremmel. |
|
|
|
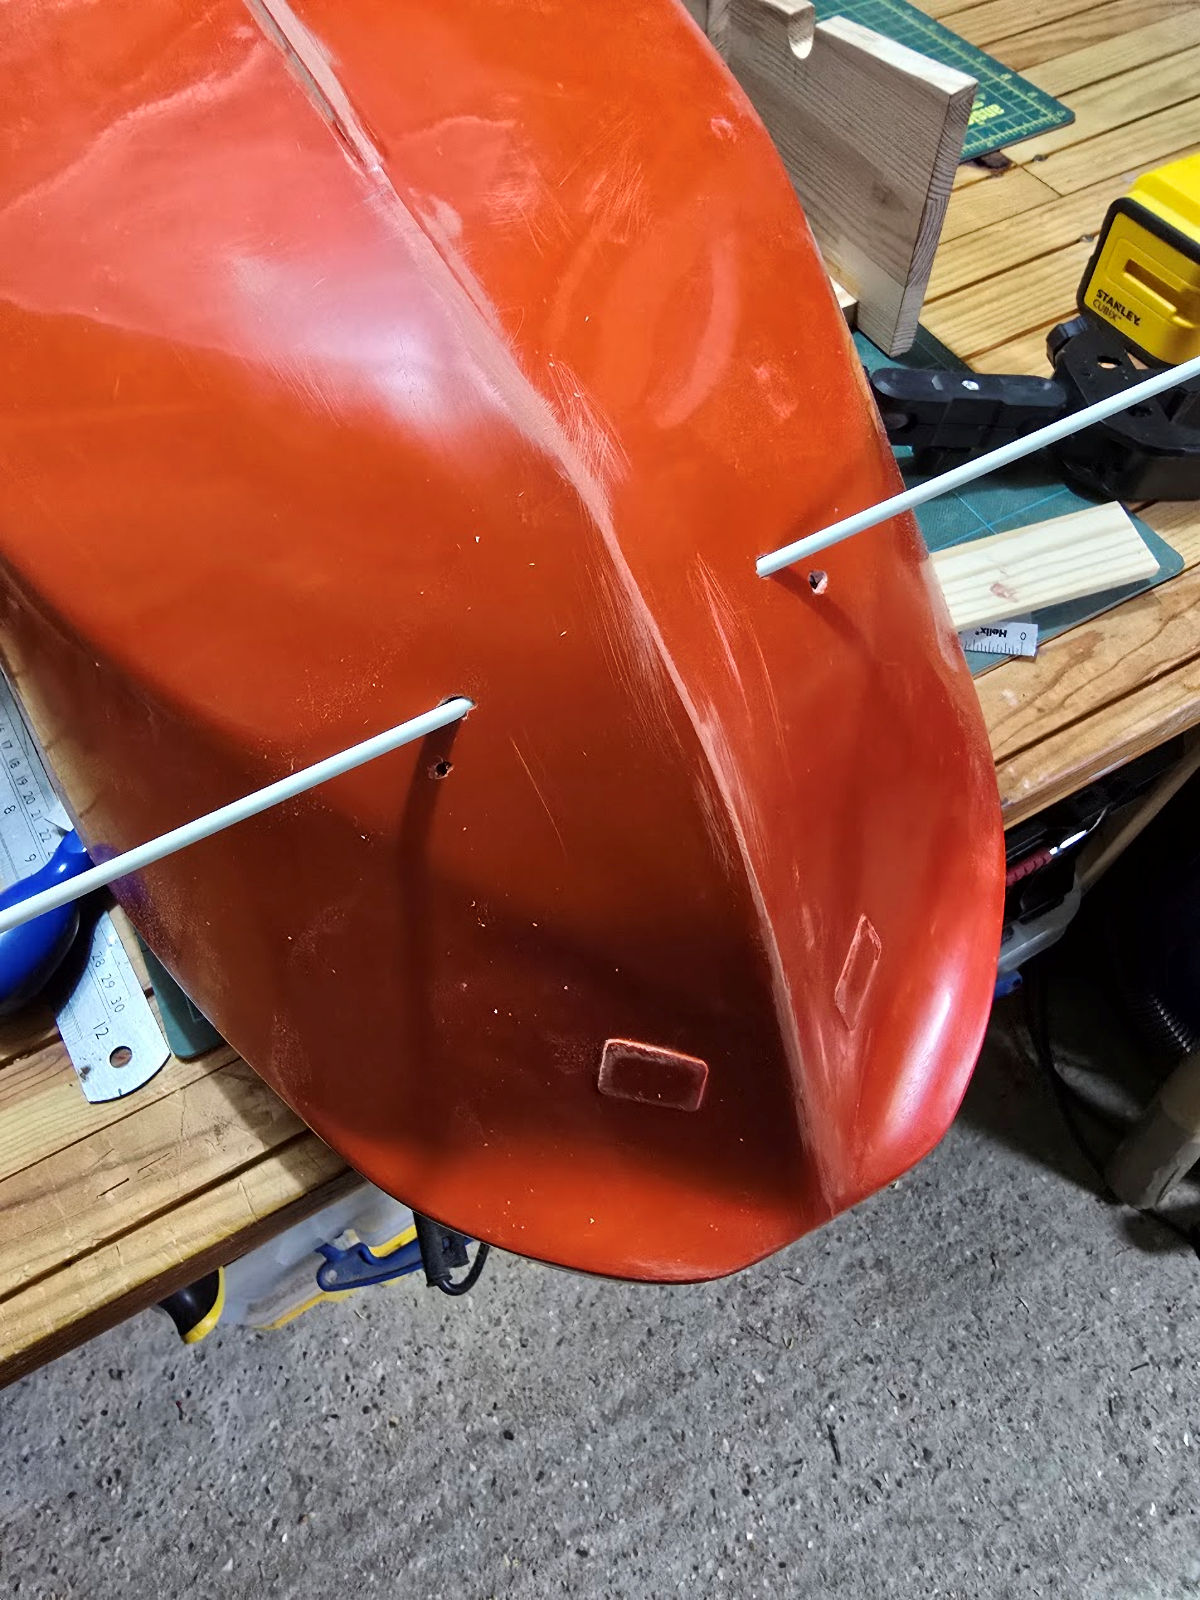
| I drilled a couple of holes through the bow to mark out where to cut for the bow thruster, the first attempt was a bit high so had to try again. I used a laser level inside the hull to try and get two level and equidistant holes. |
|
|
|
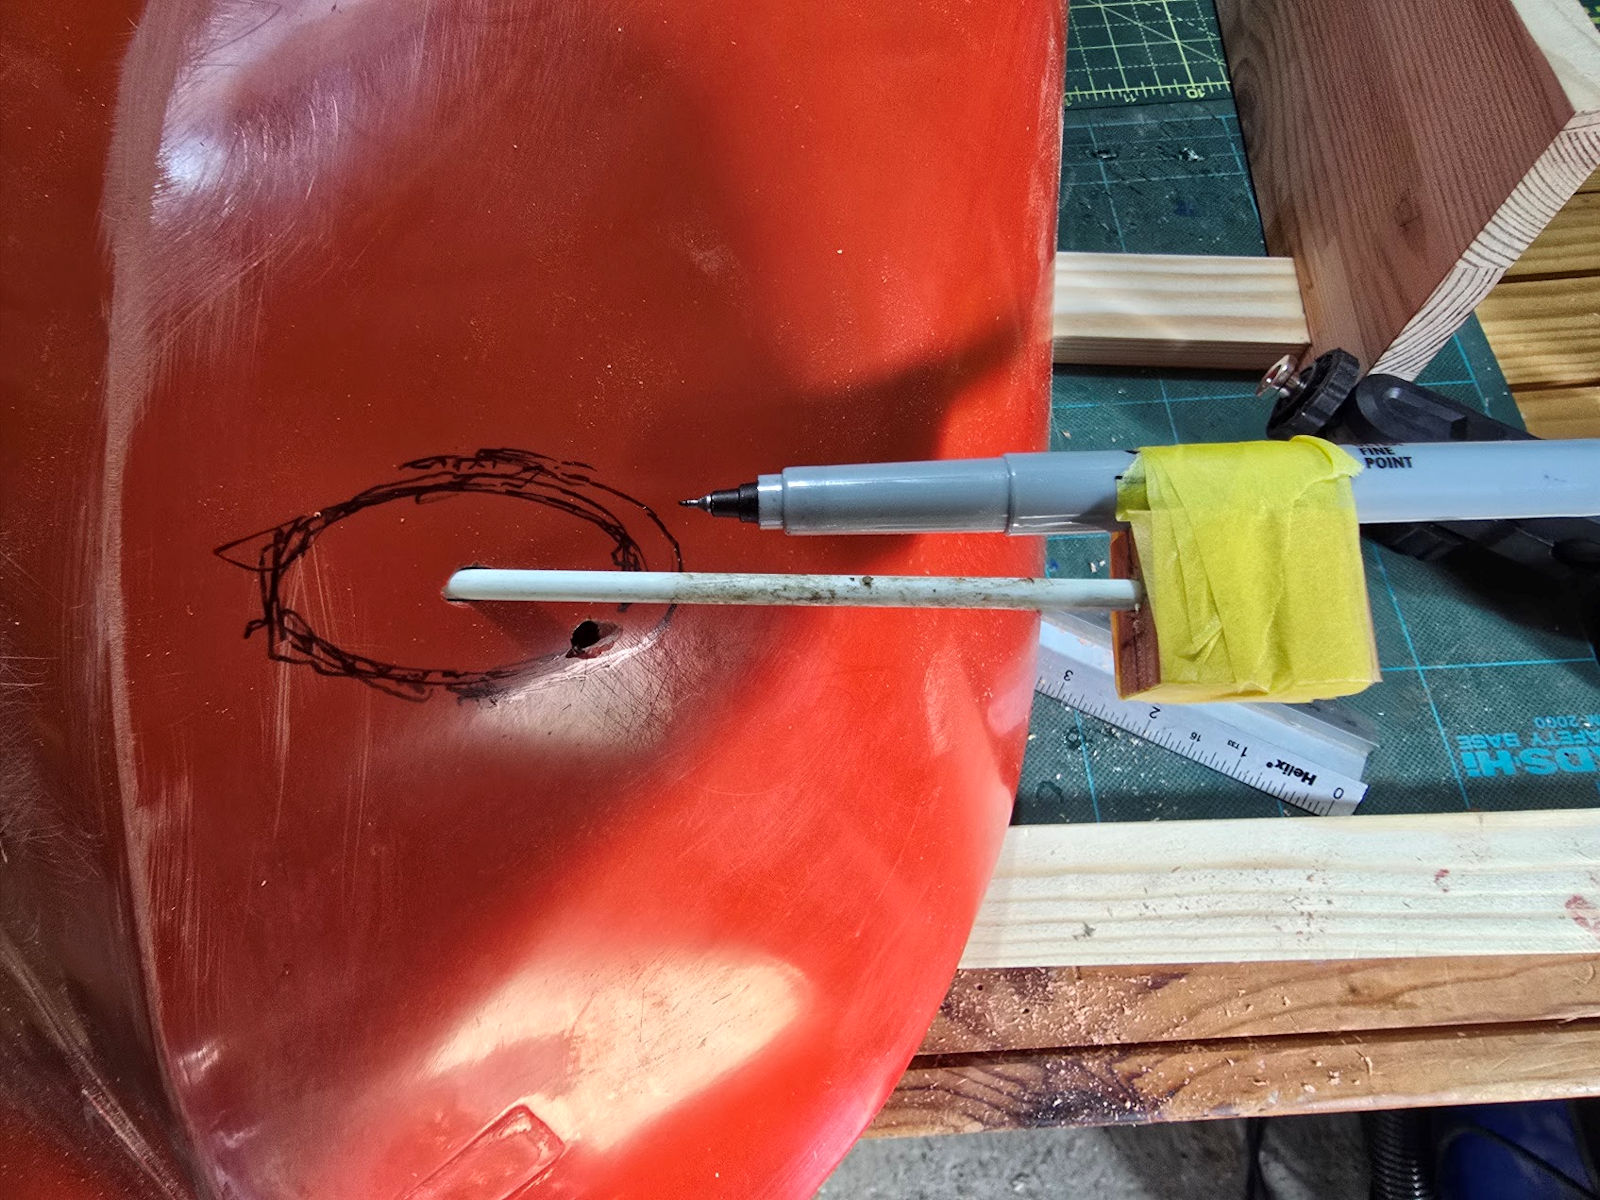
| Then using a sharpie attached to the rod through the bow I attempted to mark out where the bow thruster coutout needed to be. It sort of worked but wasn't as accurate as I would have liked but better than just a guess. |
|
|
|
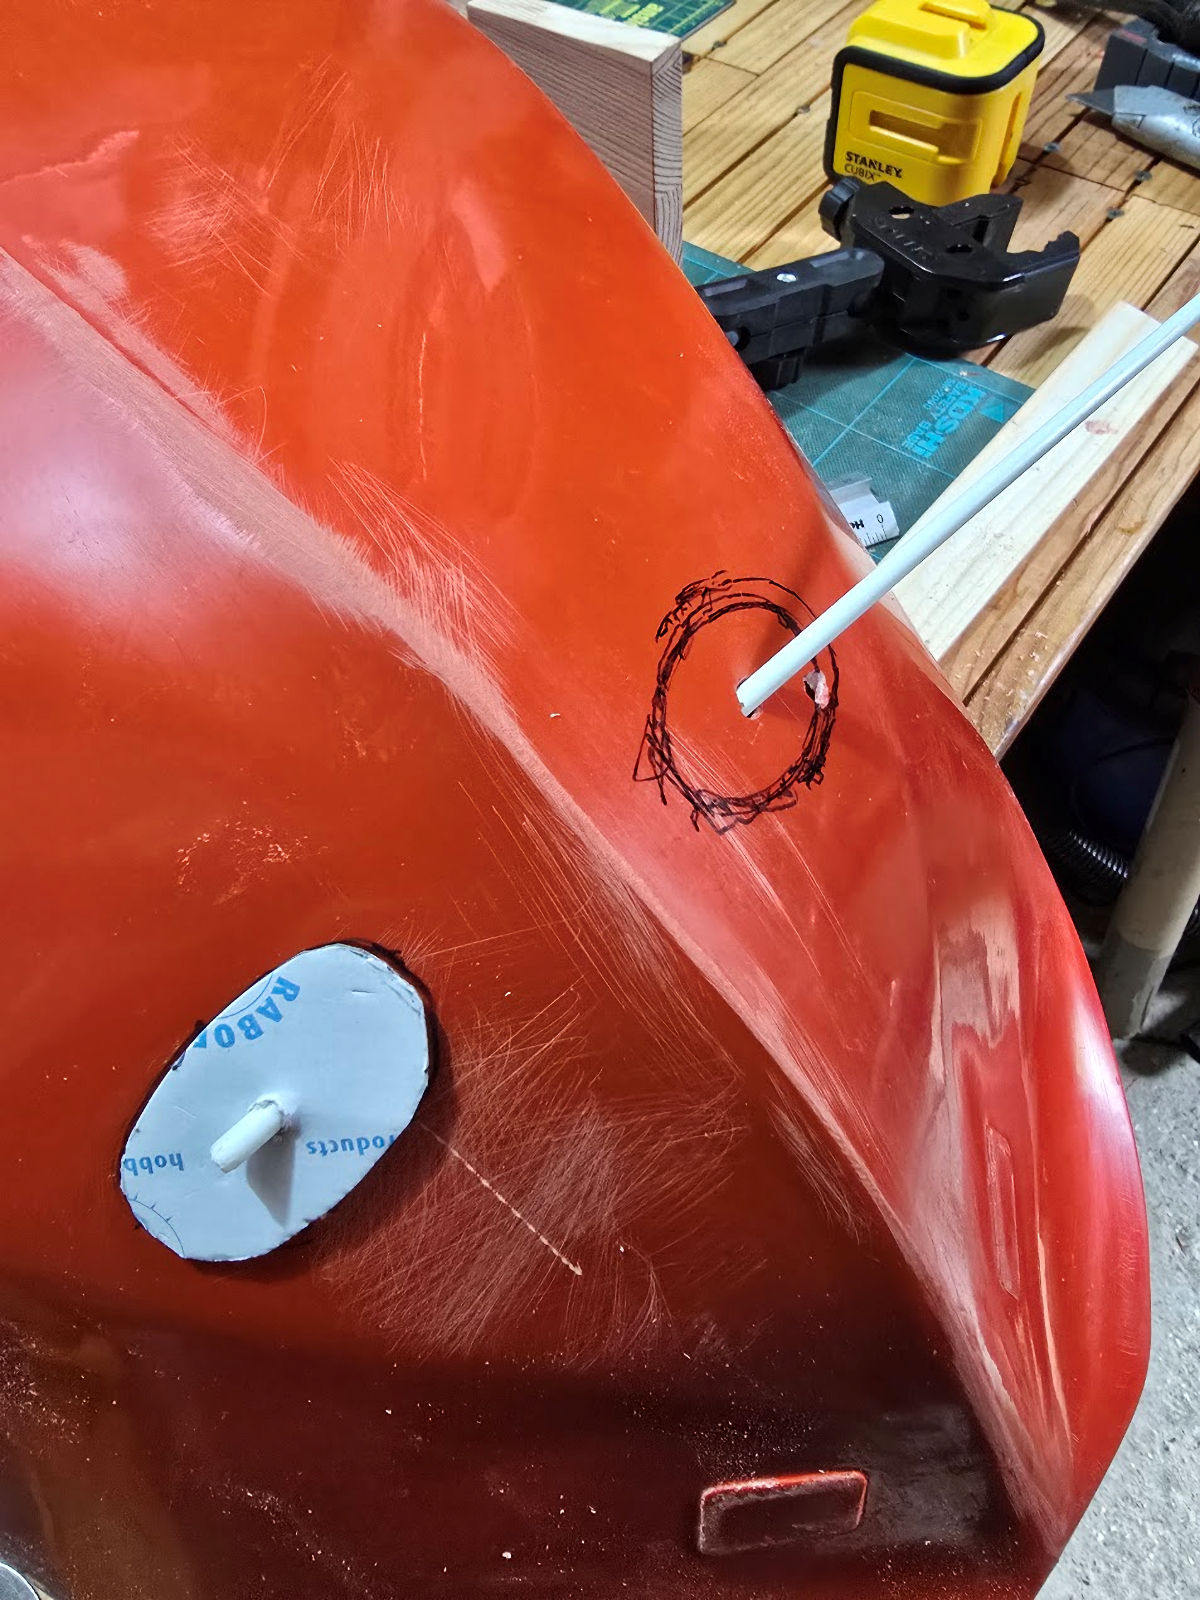
| The hole was then transferred to the other side using a cardboard template. |
|
|
|
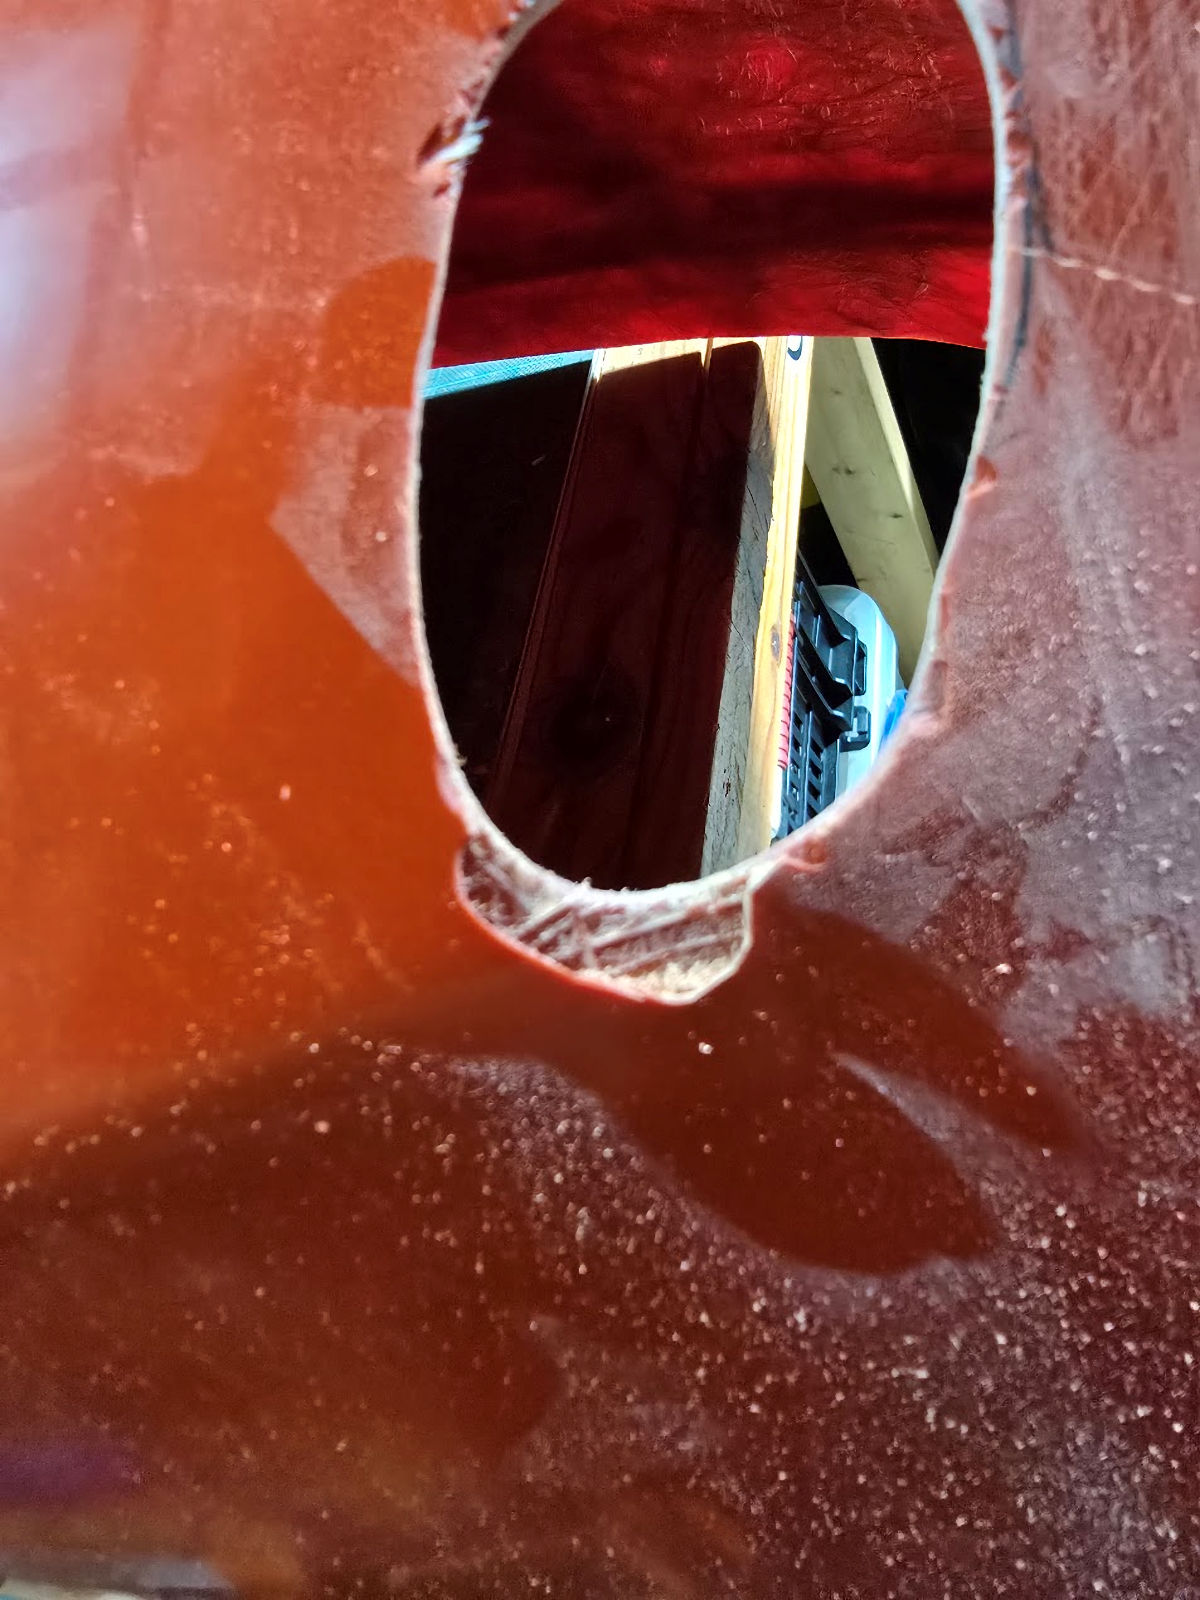
| The holes were then drilled out using a stepper bit and then a dremmel cutting bit. A nice chunk of fibreglass also flew off!! |
|
|
|
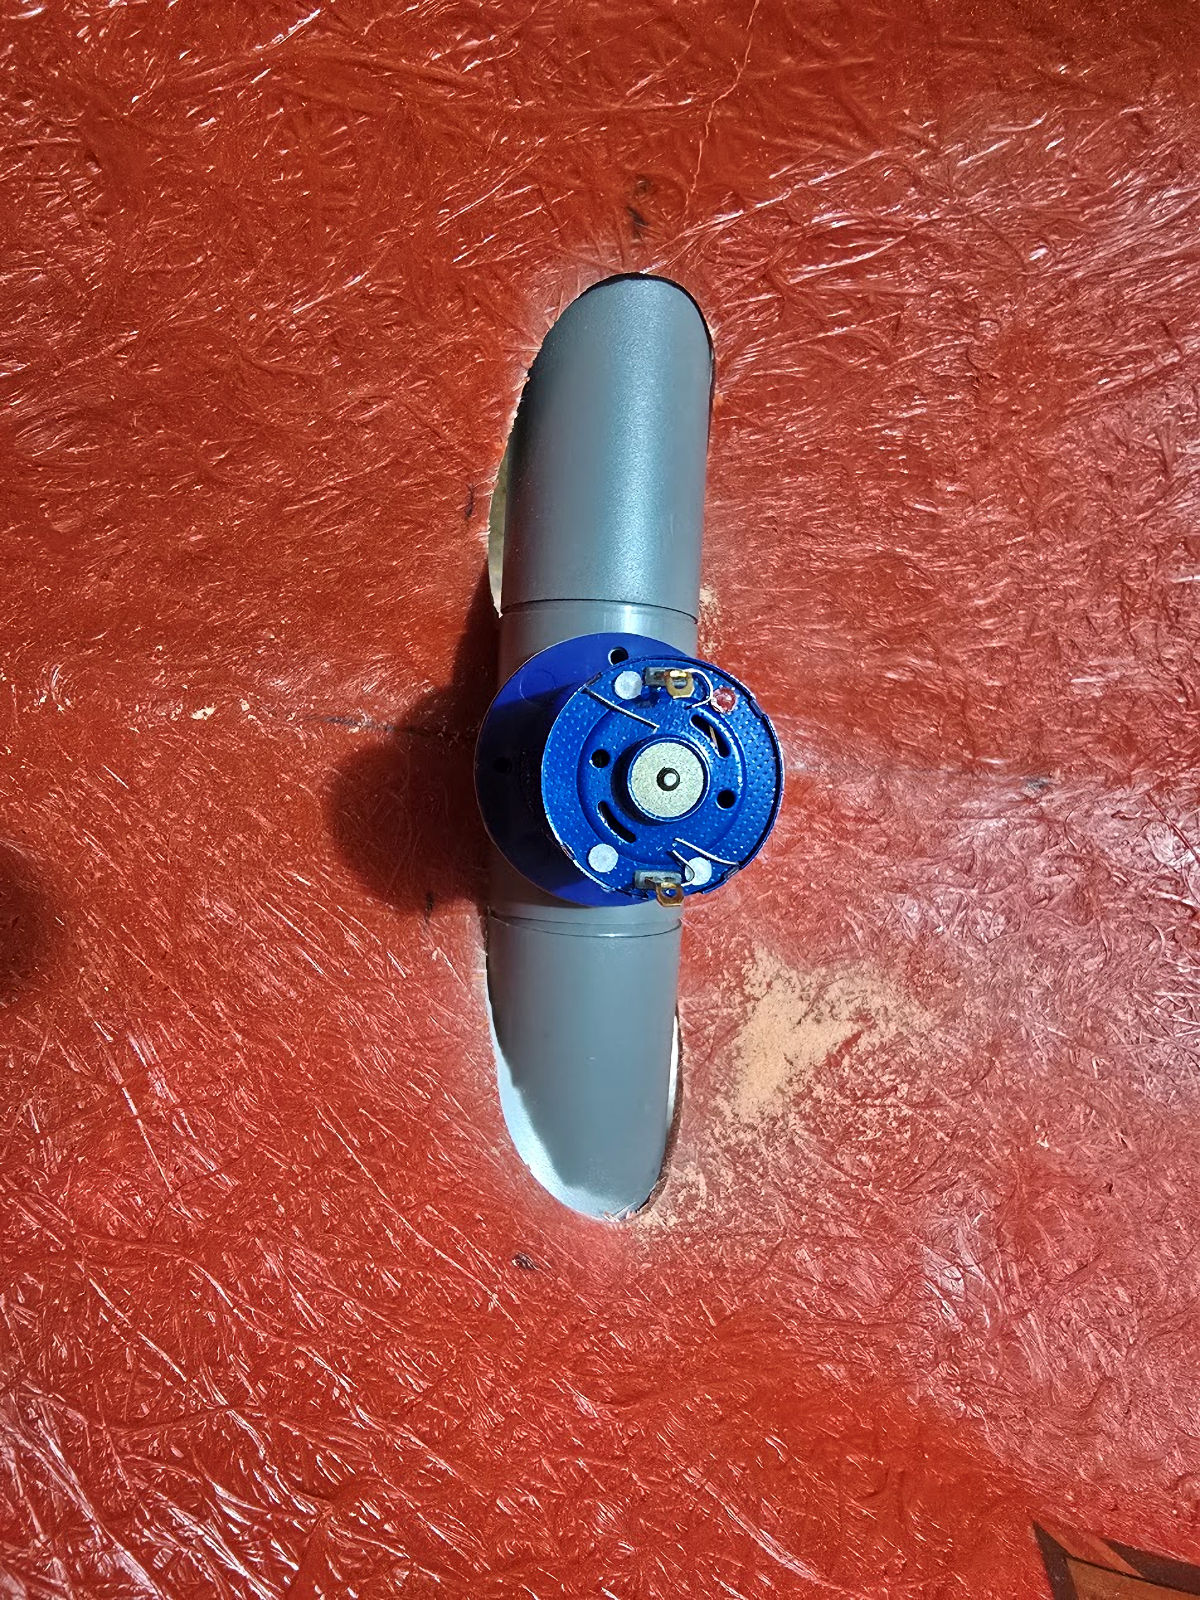
| After a bit of dressing on the cutout holes with a half round file the Bow Thruster fits quite nicely. |
|
|
|
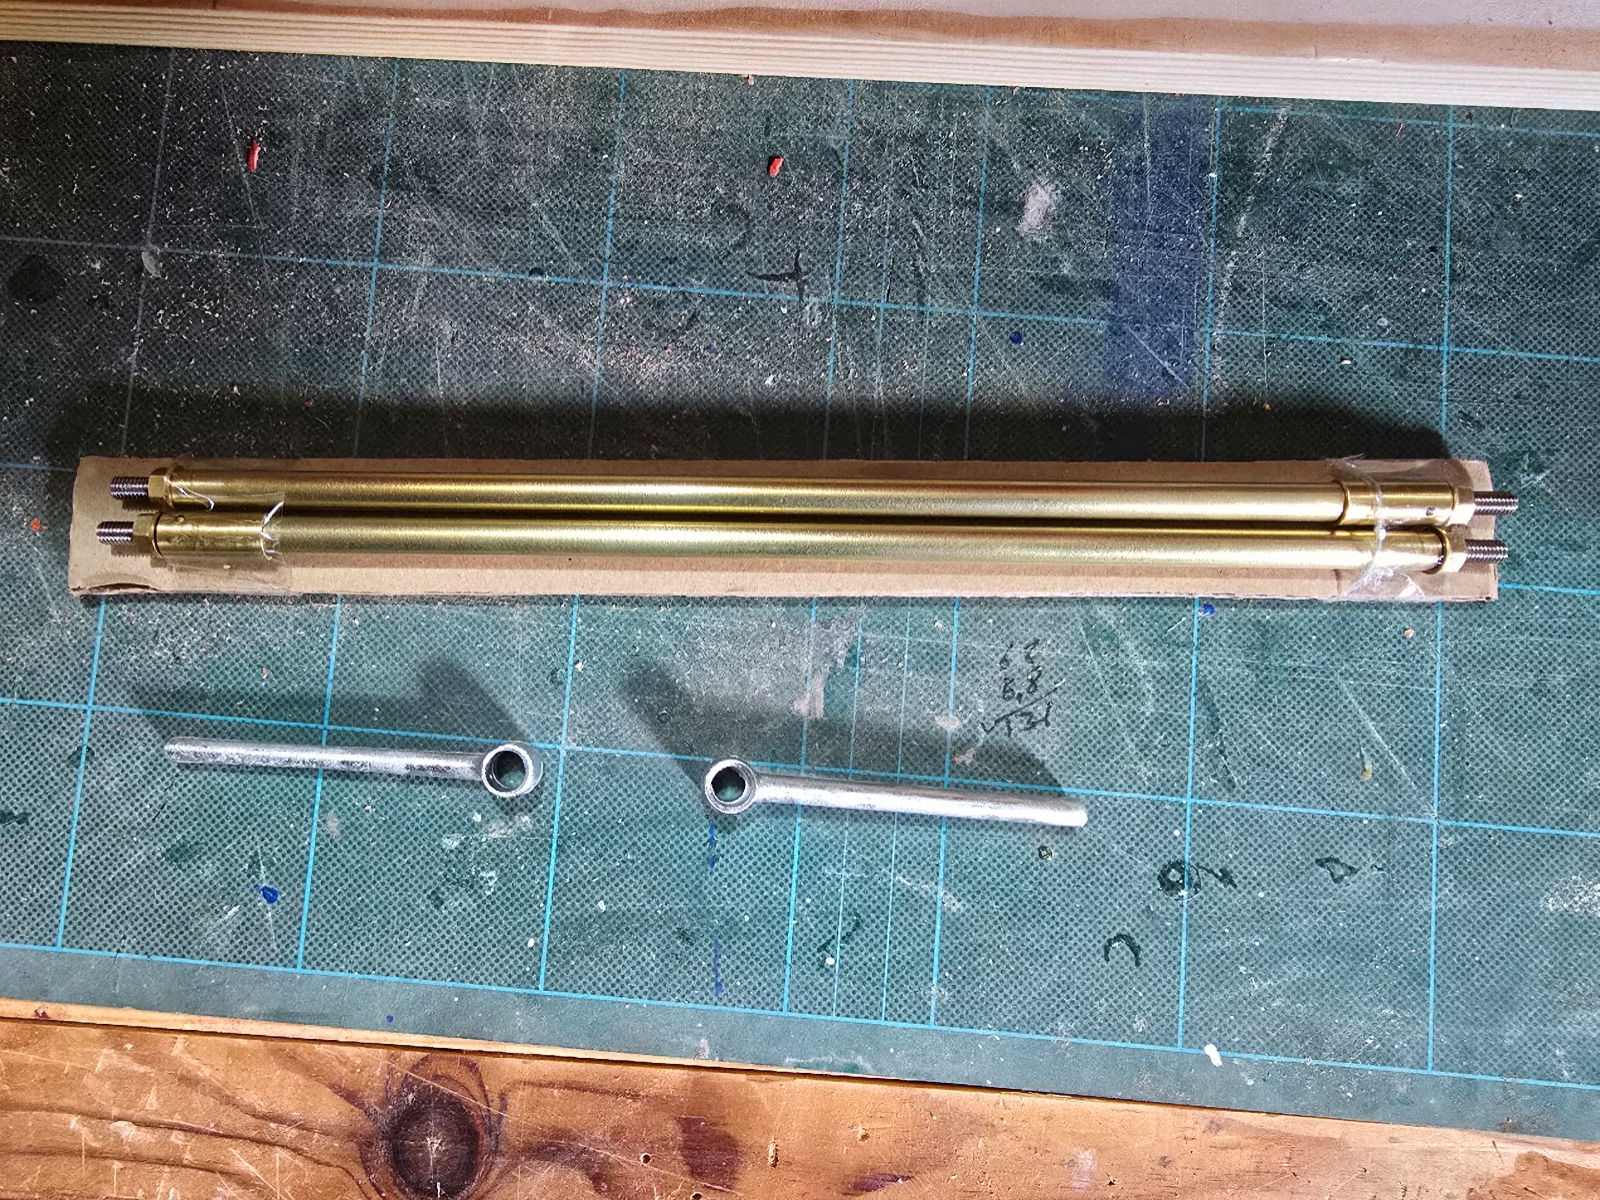
| Had a look at the P-brackets and prop shafts, just needed to run an 8mm drill through the P-bracket eyes. |
|
|
|
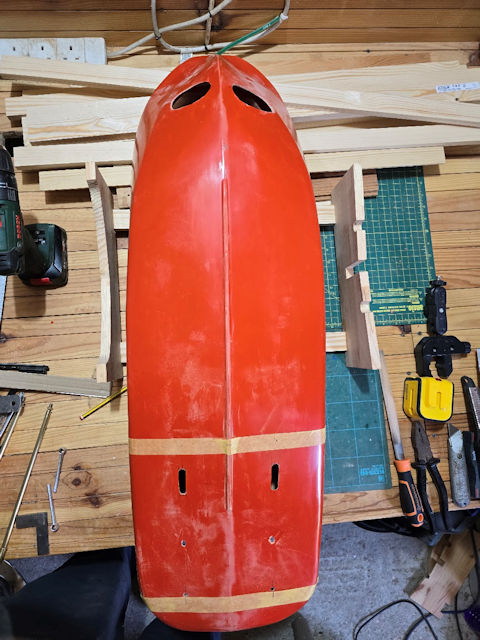
| All the openings for running gear made in the hull. |
|
|
|
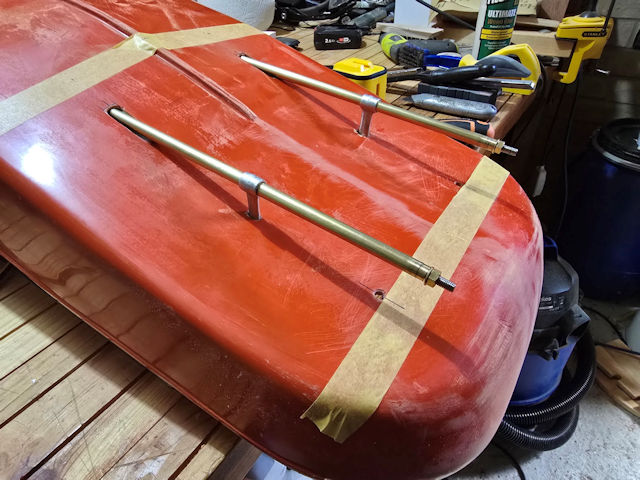
| Dry fitted the prop shafts and it all looks to be OK. |
|
|
| ??? |
|
|
| << previous | The Build | next >> |
Created: 10th September 2026 - - - - Last Updated: 12th September 2026