Ayton Cross tug build
The Build - Hull 2
|
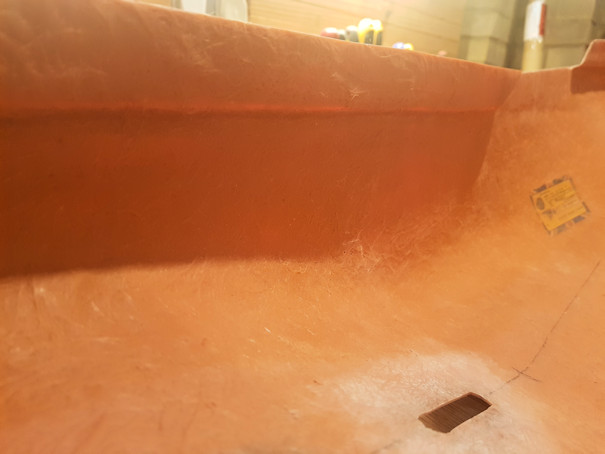
At this stage I diverged from fitting the running gear and went onto lining the bulwarks which will be easier without running gear in the hull.
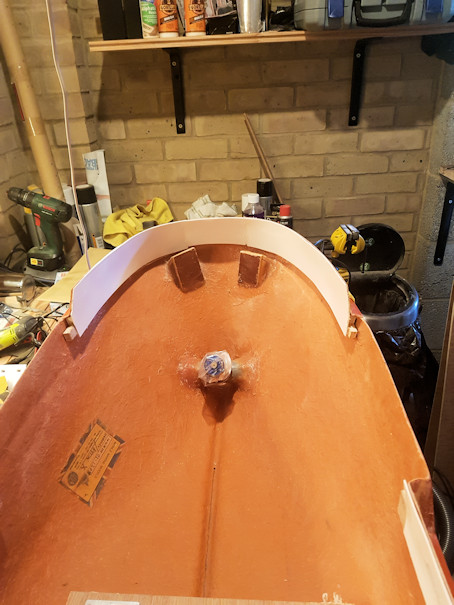
The MMM instructions say spread filler on the inside of the bulwarks and sand smooth. After reading comments on modelboatmayehm forum I decided to try lining the inside of the bulwarks with styrene sheet instead. This will certainly produce a neater finish but it will probably be more work in the long run. The problem with the Ayton Cross model is that the bulwarks overhang the hull sides so I will need to fill in the gap so that the deck support stringers and beams have something more substantial to fix to than just 1mm styrene sheet.
|
|
|
|
|
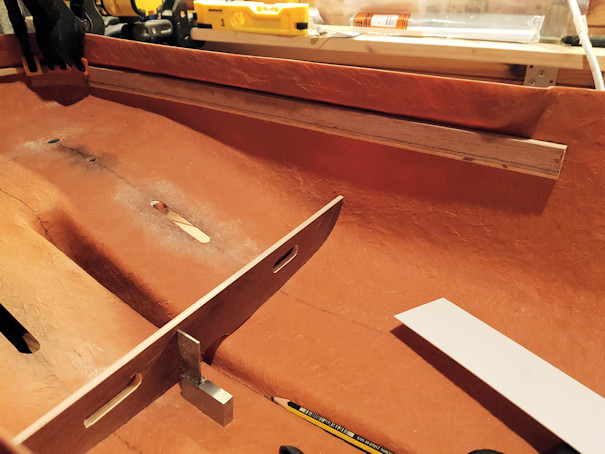
Here I am fixing a strip of ply with epoxy under the bulwark overhang. The bulwark liner will then be put onto the bulwark and down to the ply strip. This will provide a good anchor for the deck support stringers and beams.
|
|
|
|
|
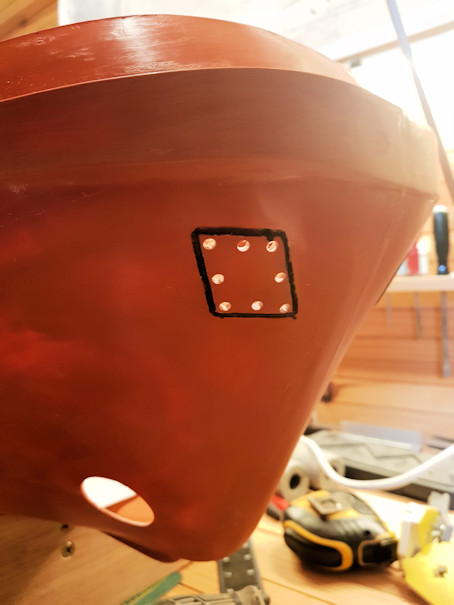
While waiting for epoxy to set I am also working on the anchor recesses and bow thruster.
|
|
|
|
|
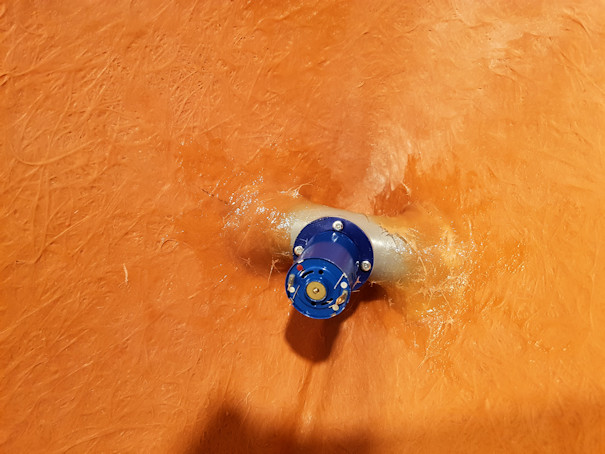
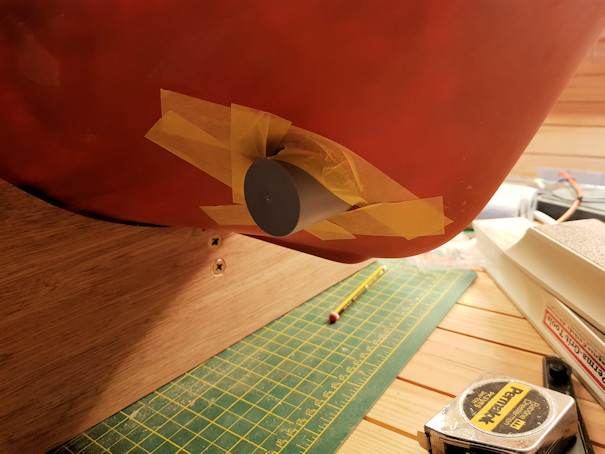
Bow thruster fixed in place with P40
|
|
|
|
|
Masking tape on hull to prevent P40 seeping through when fixing the bow thruster tubes in place
|
|
|
|
|
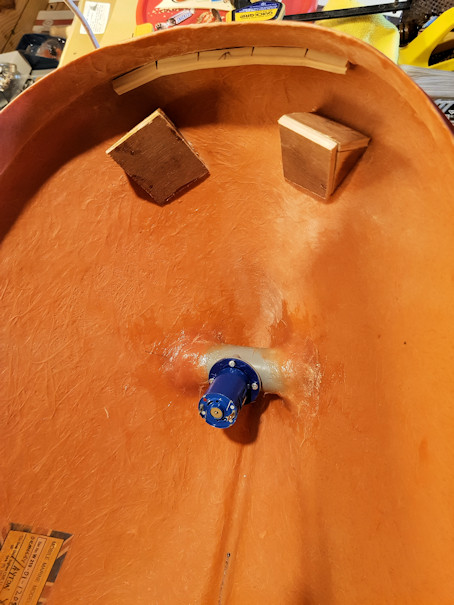
Anchor recesses tacked in place
|
|
|
|
|
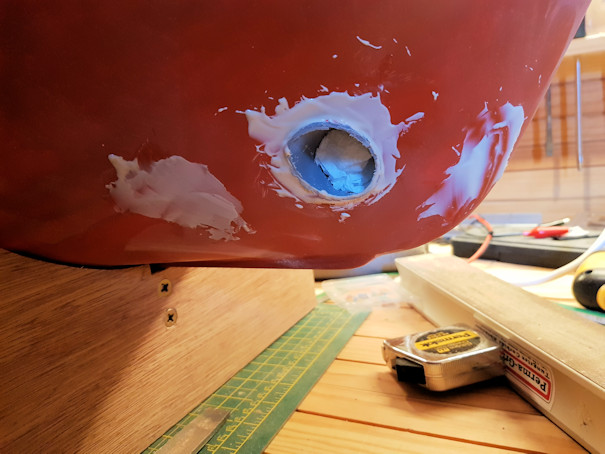
Bow thruster tubes cut back and sealed with P38 ready for fettling.
|
|
|
|
|
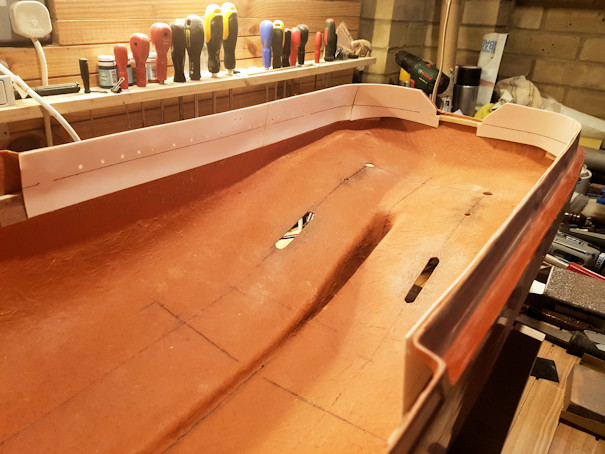
Aft deck bulwarks lined with styrene and deck line marked. Holes drilled for freeing ports.
|
|
|
|
|
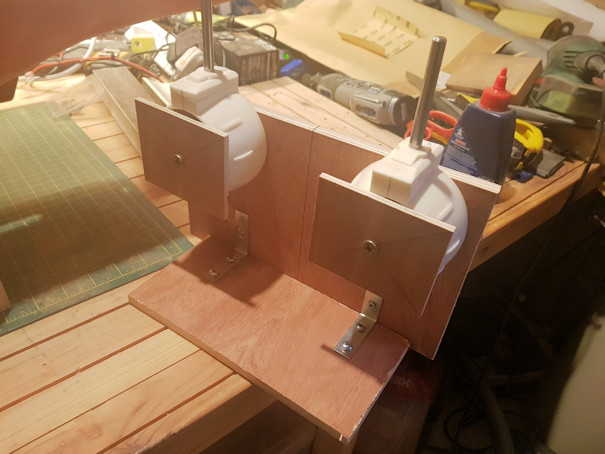
Jig made to keep kort nozzles properly aligned
|
|
|
|
|
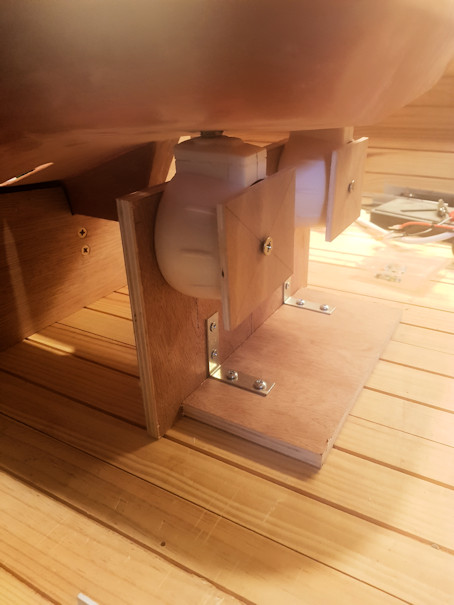
kort nozzles held in place with the jig
|
|
|
|
|
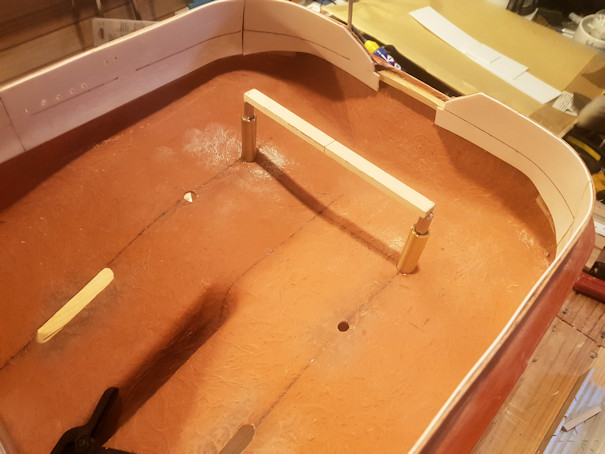
Rudder tubes perfectly aligned and in the right place
|
|
|
|
|
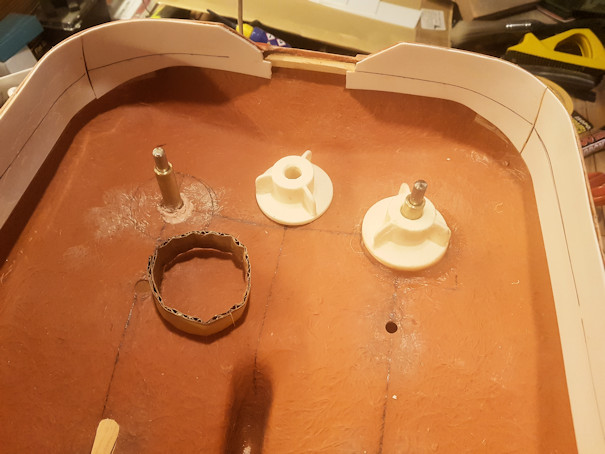
Securing the Kort Brace and Rudder Tubes in place
|
|
|
|
|
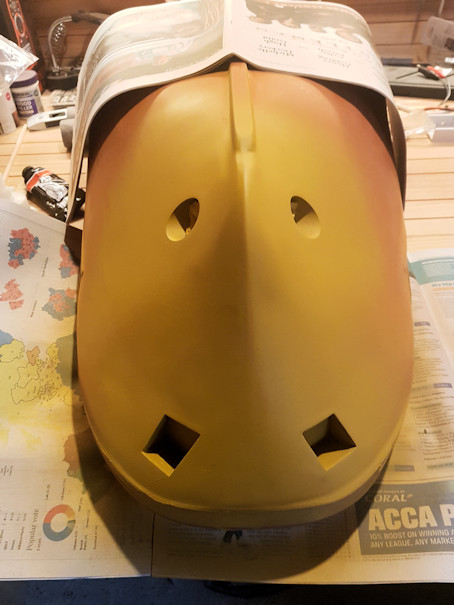
Bow thruster and Anchor recessess faired and first coat of primer
|
|
|
|
|
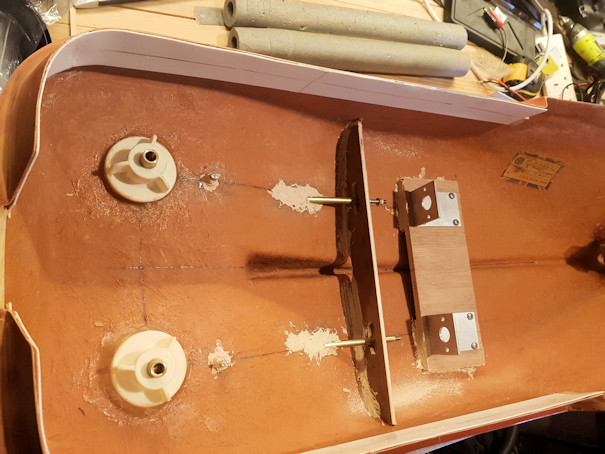
Prop shafts aligned and fixed in place
|
|
|
|
|
Foc's'le Bulwarks lined with styrene
|
|
|
|
|
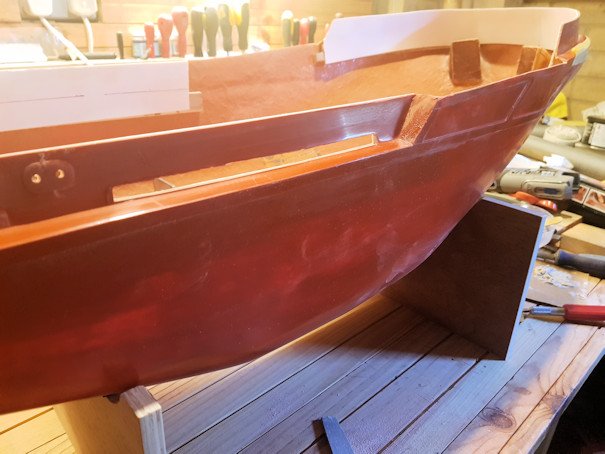
Opening up the freeing ports
|
|
|
|
|
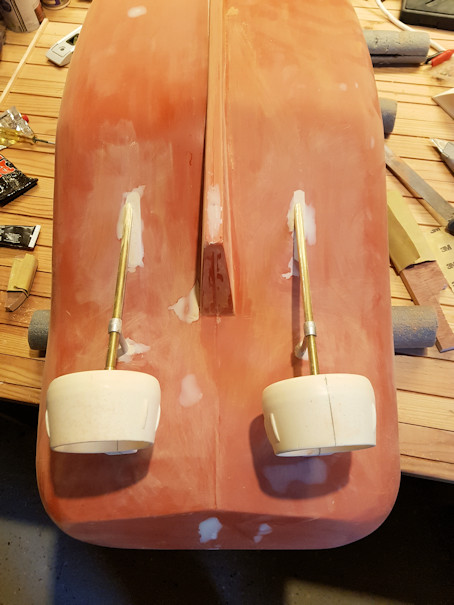
Closing up the running gear openings
|
|
|
|
|
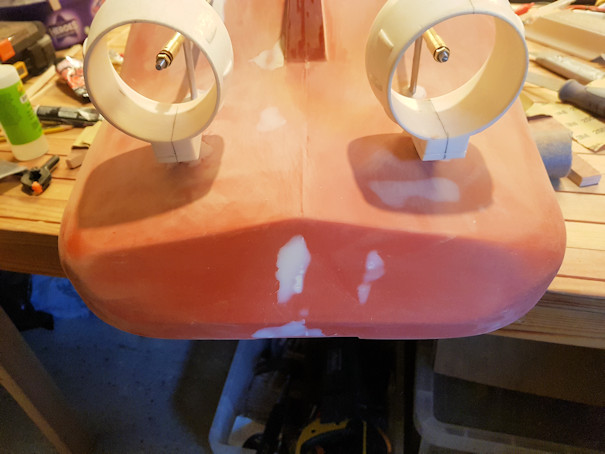
Korts in place. No ones got any props in stock!!
|
Created: 1st January 2020 - - - -
Last Updated: 11th January 2020
